

If you love scatching and searching for how to draw lips easily and with basic steps, then you come to the right place, in this article, I will tell you how to draw lips by using some basic and simple steps. I will tell you how you create lips by using a small simple triangle shape.
I am using these simple substances for drawing lips:
- Lead Pencil (0.5 HB Ain)
- Pencil (Derwent Graphic 6B)
- Eraser
- Blending Stamp
- Smooth Paper
Let’s start our tutorial:
How to Draw Lips 10 Basic Step:
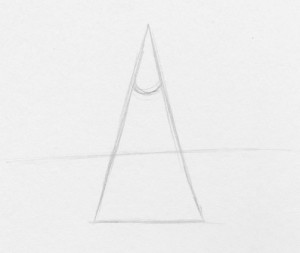
STEP1: Draw a simple long triangle, then draw a curve on the uper corner of the triangle and also draw an Horizonte line between the upper corner where we draw the curve and the base.
STEP2: Draw an outline similar to a bow, on the curve which we draw on the upper corner of our triangle which we draw in the first step.
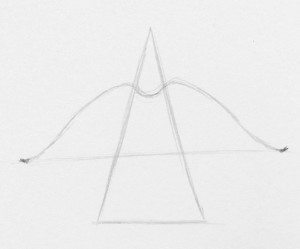
STEP3: Create the bottom lips by drawing a curved line, which touches the base of the triangle, and complete the opening of the mouth by using a horizontal line which we draw between the upper corner and the base.

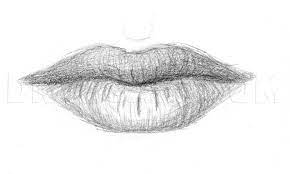
STEP4: after erasing the triangle, check the drawing where the light source is coming from and cast the shadow on the left side of the bottom lip.
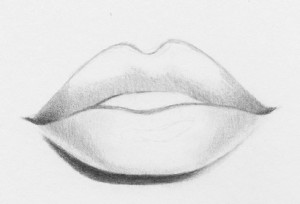
STEP5: shade the both upper and down lips that are mentioned in STEP4 as you see the shadow under the bottom lip, it starts to fade on the right side to show the light source which is coming from the right side.
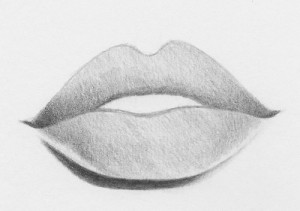
STEP6: draw some wrinkles on the lips which we draw, create these wrinkles by using a 0.5 pencil.

STEP7: blend the down lip by using the blending stump, but avoid the area mentioned between the upper and down lips. Blend them until the wrinkles on the down lip start to blend but should not disappear.
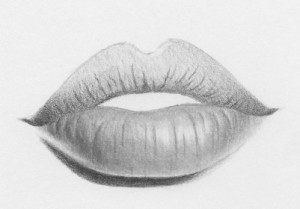
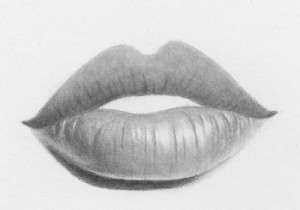
STEP8: use the pointed area of eraser to erase and creat the glare effect and then repeat STEP7 and again STEP8 and if you are searching for it how to draw lips then you drawing is ready.
Taken from:https://rapidfireart.com/2013/05/10/how-to-draw-lips/#
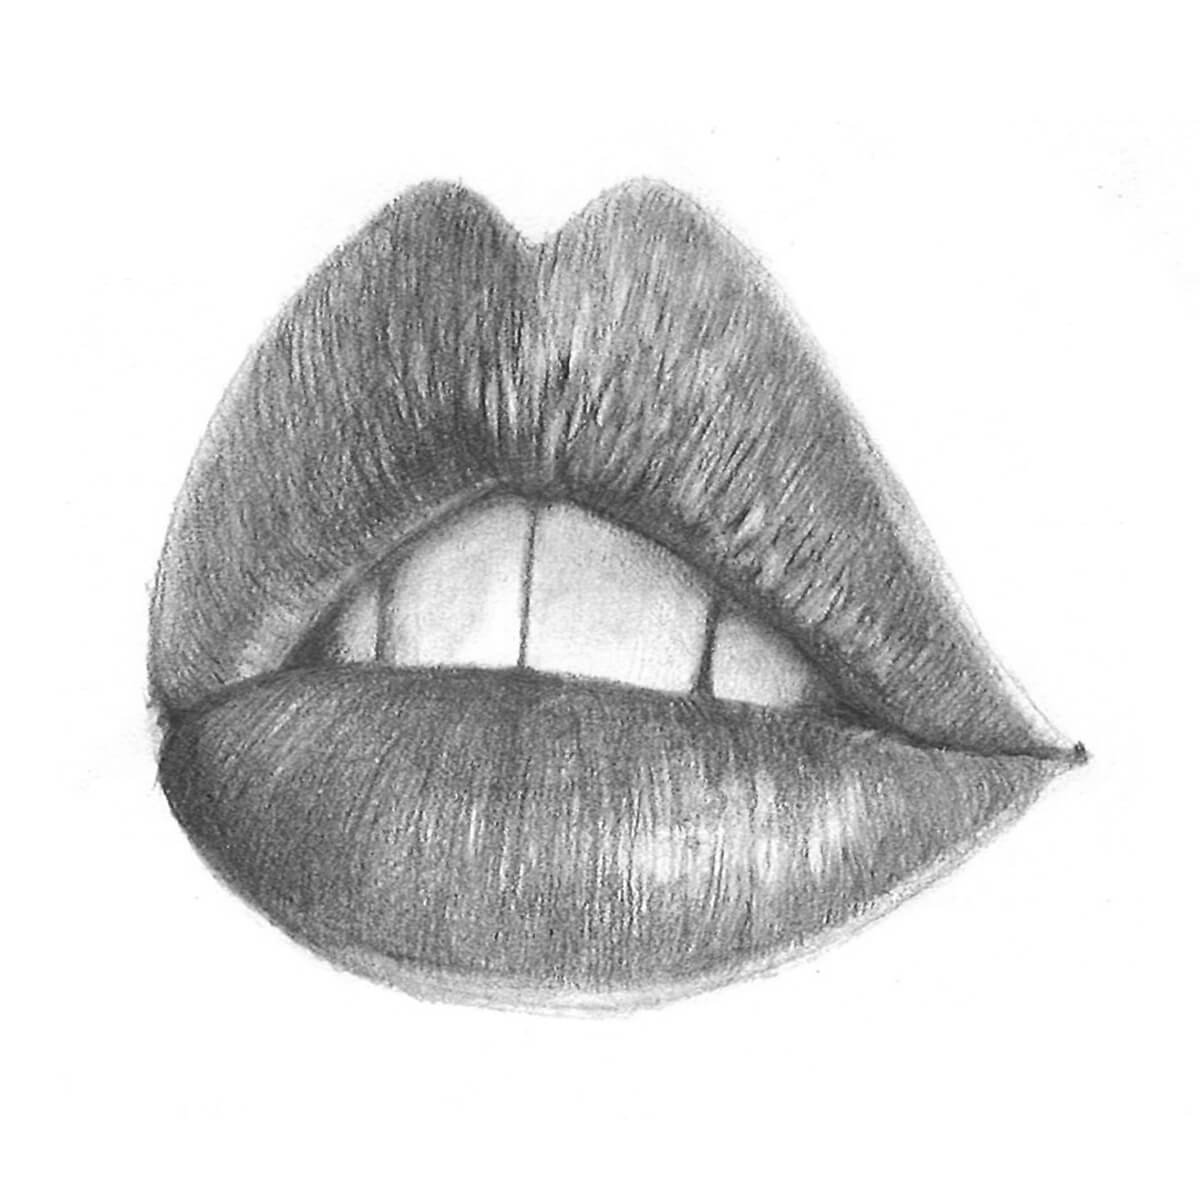
How to Draw Lips With visible Teeth:

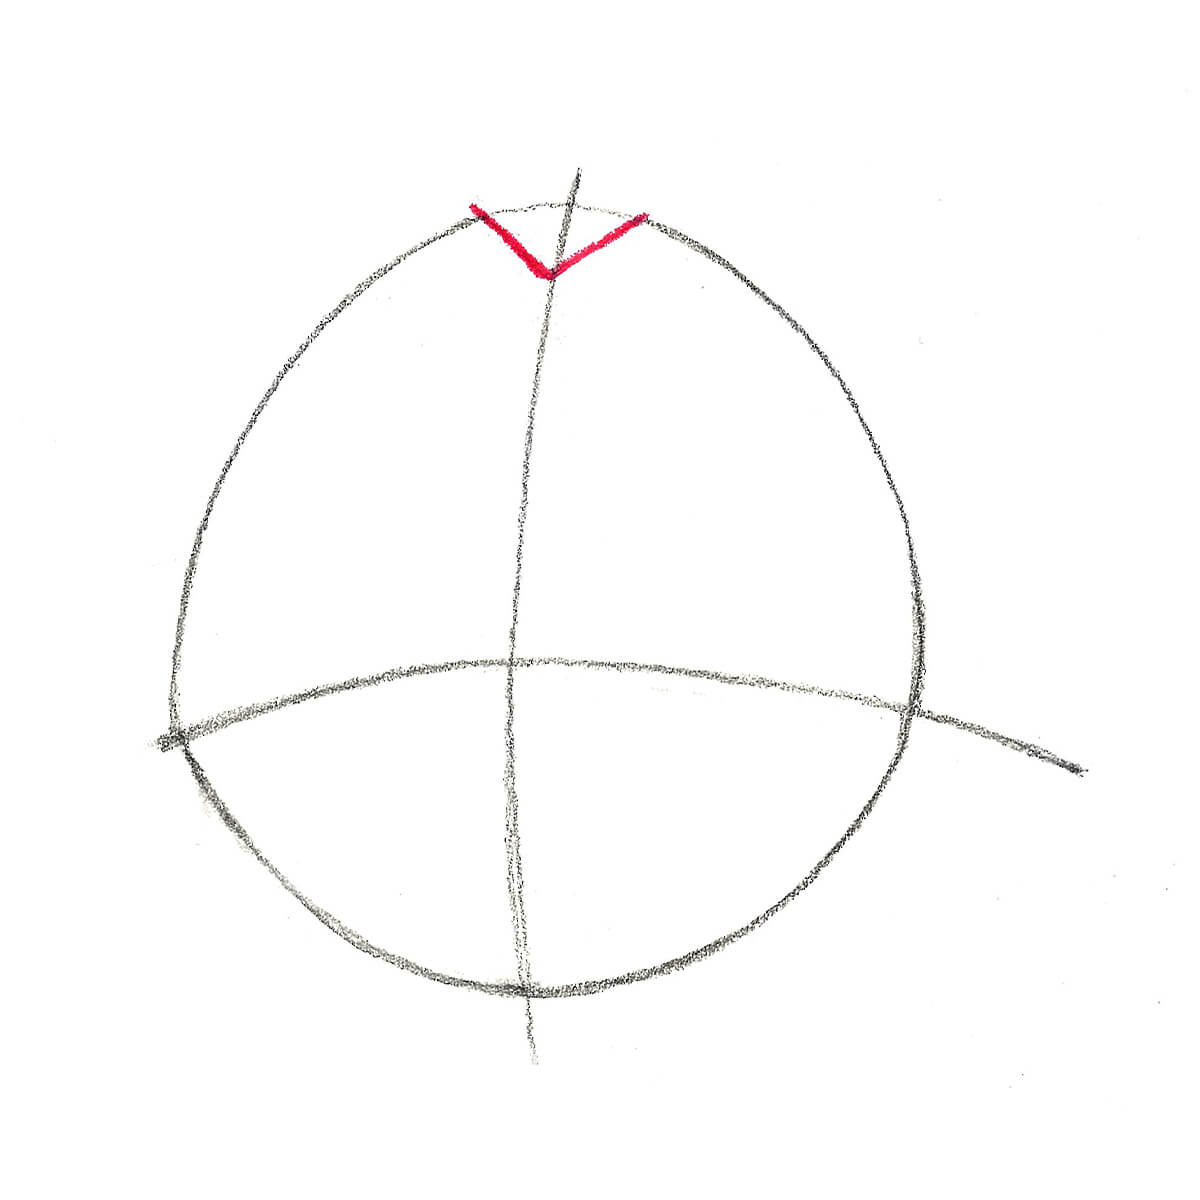
Draw the vertical arcs and mark the top and bottom, then draw a horizontal arc perpendicular and also make sure that the upper line is greater than the lower.
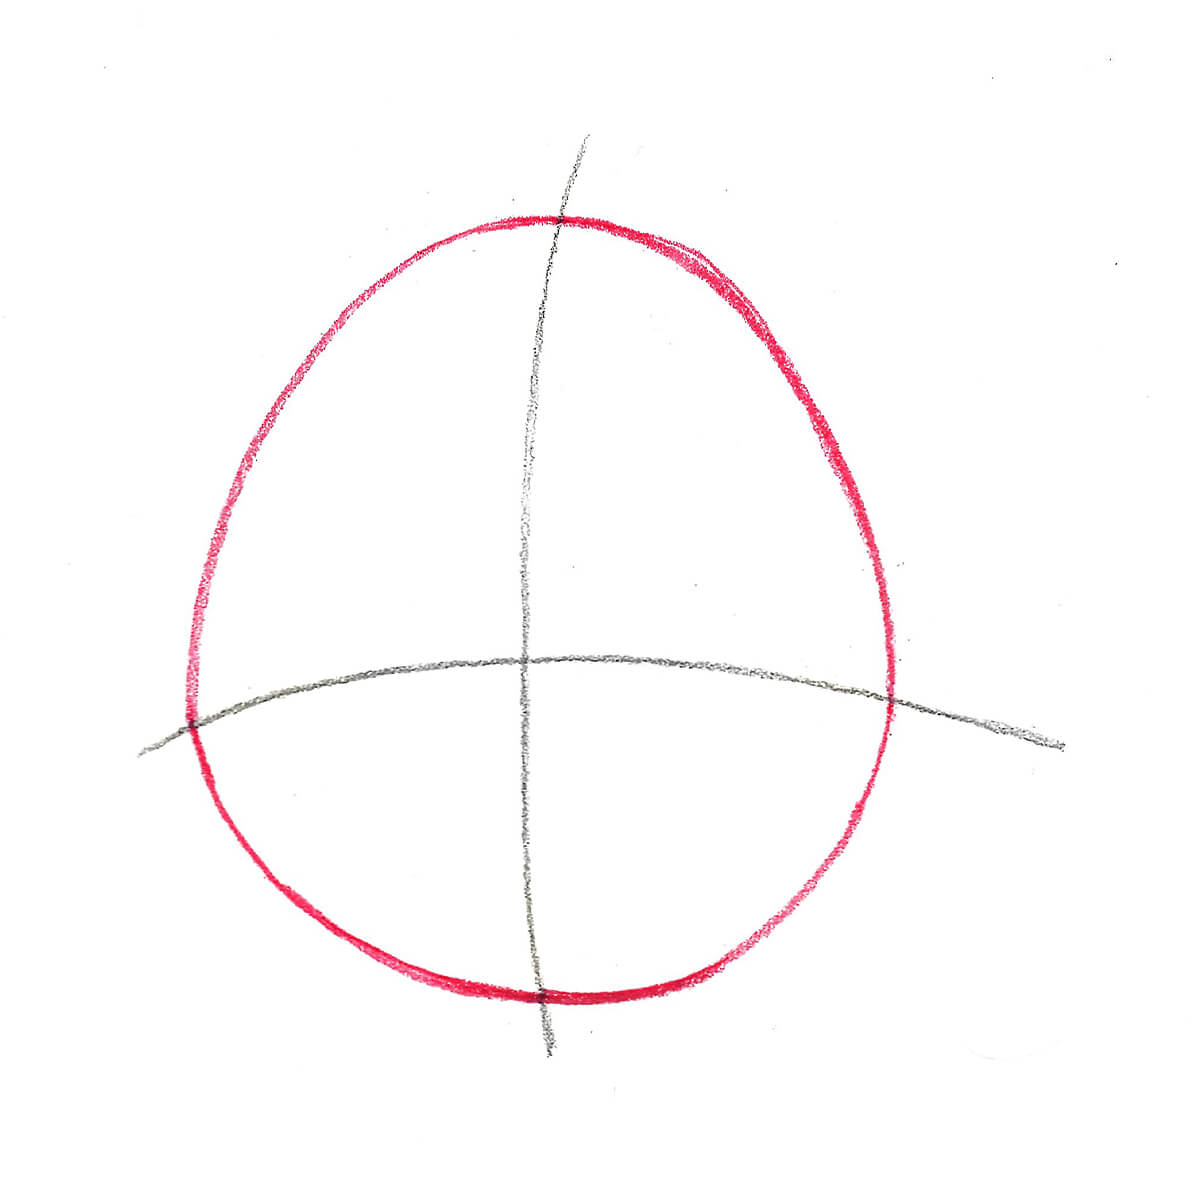
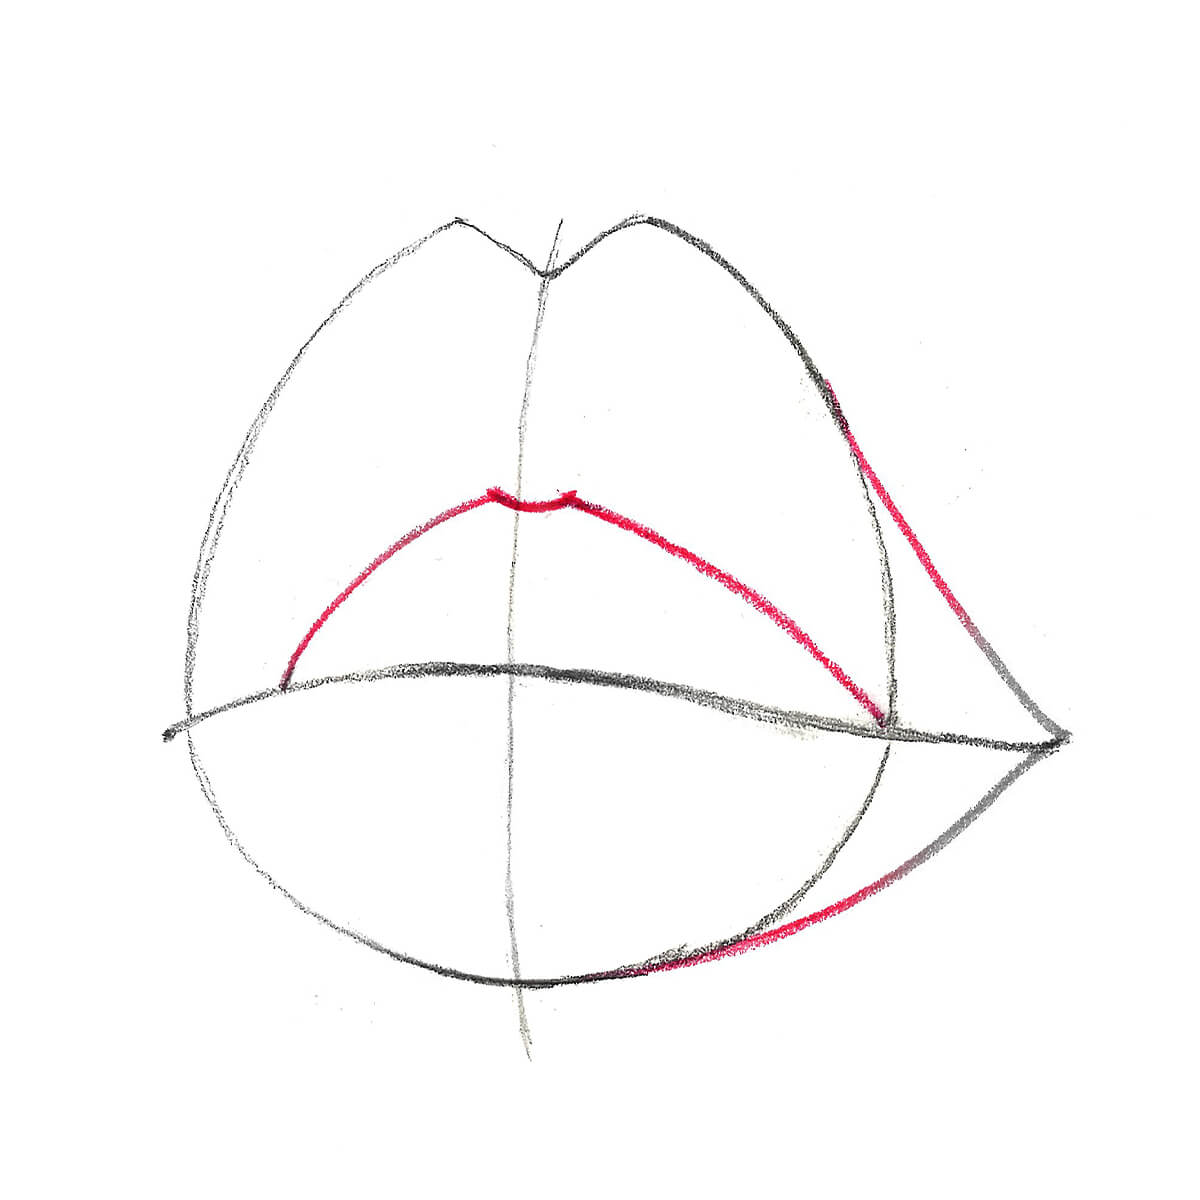
Draw an oval shape on the arcs which we draw in the first step.
Draw the bow for lips on the upper arc and the top oval.
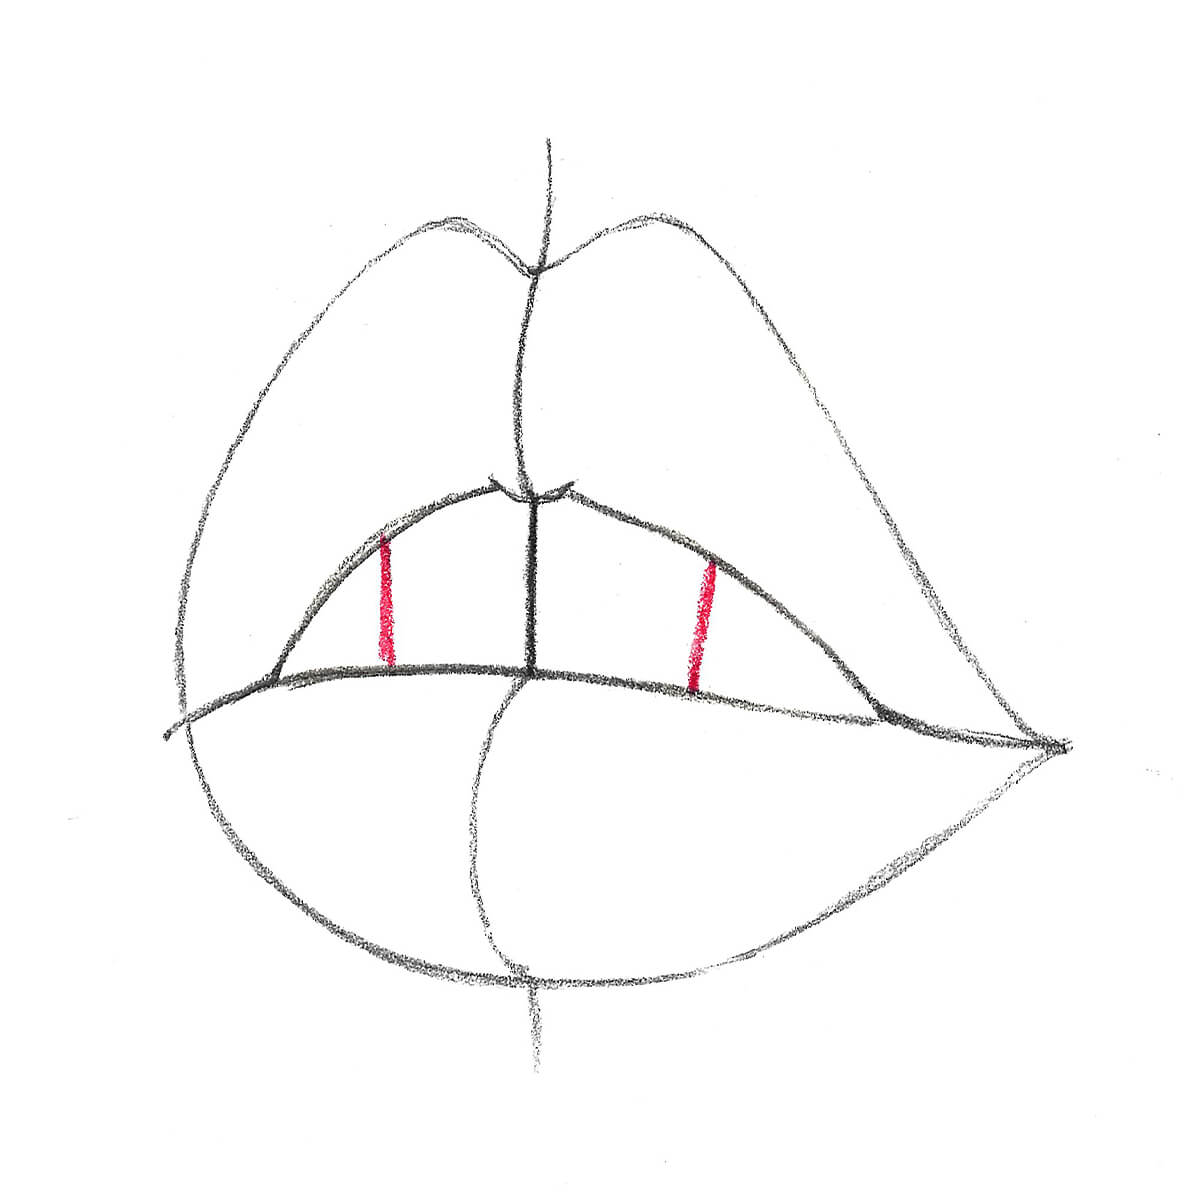
Draw a semi-circle and join the lower oval and the bow which we draw on the upper top of the oval and create a little triangle.
Add the teeth.
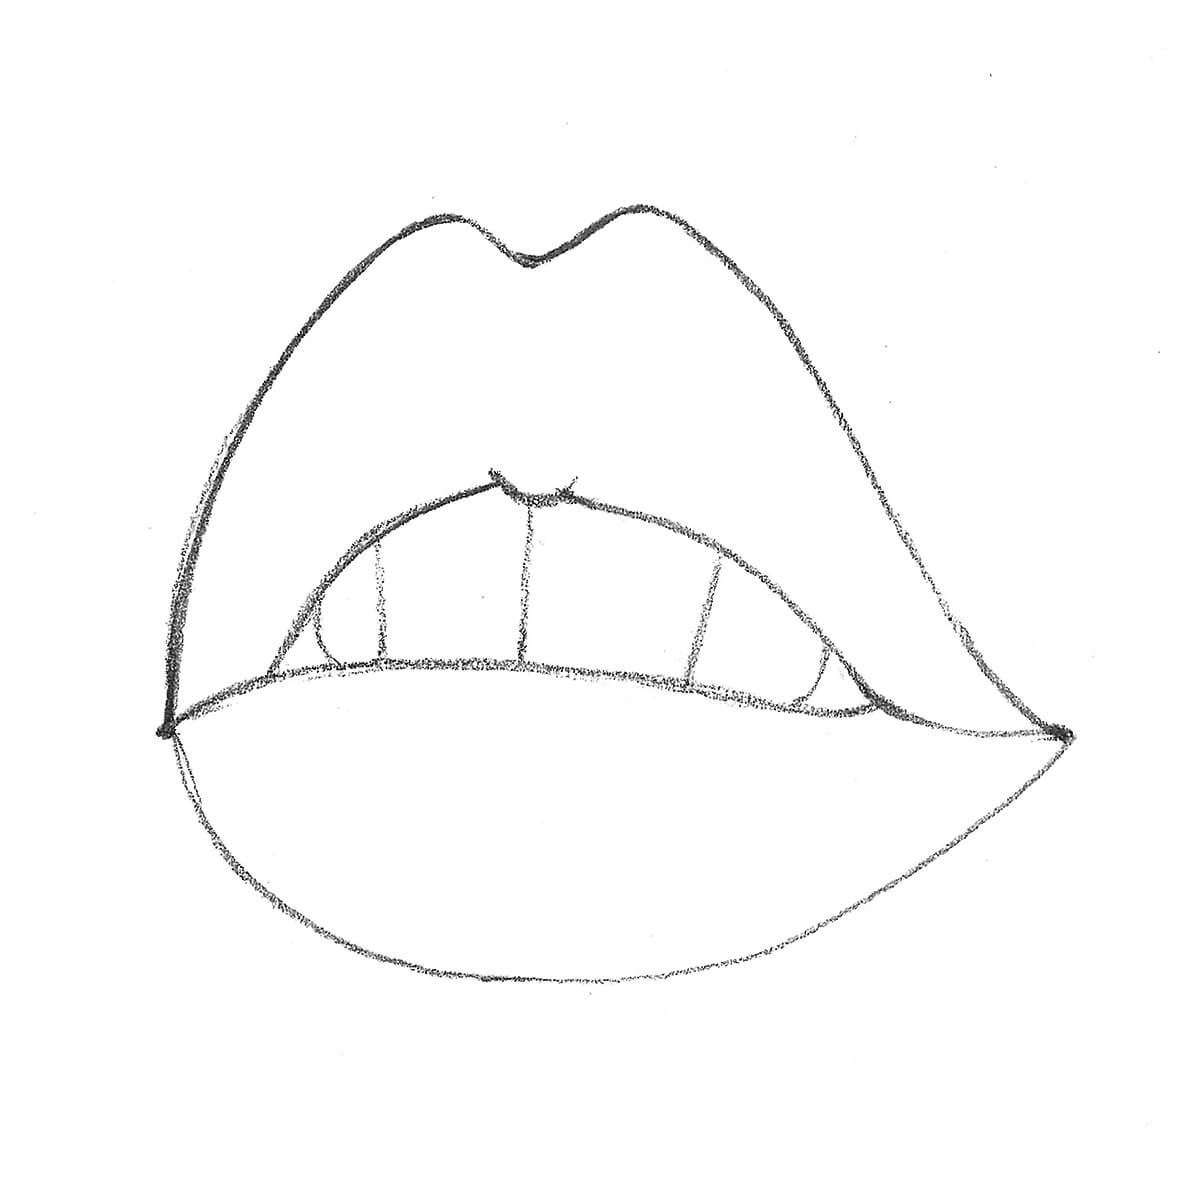
Then erase the extra lines from the drawing and our drawing is ready for shading.
Taken from:https://arteza.com/blog/how-to-draw-lips-step-by-step
Shade the lips except for the teeth and our drawing is ready. read more at isbtime